Saturday, October 30, 2010
Aphids!
As I've been catching up on work, I haven't had much time to take care of the plants aside from a daily misting and biweekly watering. I noticed, however, the pepper plants that I'd brought in were getting a sort of fuzzy appearance which I at first attributed to a large, secondary flower bloom under their new HPS light. When I thought about it a bit more though, I looked closer (underneath leaves in particular) and noticed that I had an aphid invasion on my hands! After doing some research and a bit of thinking, I came up with my (mostly?) organic fix. In a 32 oz. spray bottle, I mixed 18 oz. of coffee (not piping hot!), 1.5 teaspoons of 70% neem oil and a splash of OMRI listed insecticidal soap spray topped off with RO water. The coffee and soap are certainly organic but the neem oil did not seem to be. Perhaps there is something about the remaining 30% or the manufacturer did not go to the bother of being OMRI listed? I'll have to do more research. Coffee contains caffeine (of course) which the plant produces to protect it from insects. What gives us a nice morning pick me up overwhelms the insect nervous system causing death. On inspection of my coffee plants, I did not find a single aphid on them, possibly due to the plant's defense. I did notice they had made their way to the loquat seedlings which makes me think that the softer, less waxy leaves are more appetizing to these critters. The neem oil is a natural extract of neem tree seeds that deters insects from biting the plant and causing those that do to die from a variety of effects. The soap helps to emulsify the neem oil which is naturally hydrophobic. I sprayed down the infected plants to dripping on both the top and bottom of every leaf and hope that this acts to stop my pest invasion. If not, I will give it a try in one more week. DISCLAIMER: I have not read before about mixing these products and take no responsibility if this harms your plant. This is a test of a broad organic pesticide that works through numerous mechanisms. I will update this post in coming days/weeks to discuss its efficacy both in terms of ridding the plants of aphids as well as any potential side effects. Thanks for reading and feel free to comment on my solution (pun intended)!

Tuesday, October 19, 2010
Paludarium Construction (Update - 3)
It has been a while since I've updated as I was out of town at a conference in LasVegas this past week. Unfortunately, due to some combination of a light failure and the heat coming on in my apartment, I think one of my lime plants may not make it. All of the leaves are dried and have fallen off, save for a few. I'm hoping a fixed light, more water/humidity, redirecting the heating vent, and some TLC will bring the plant back! The paludarium is in the final testing stages right now. I simplified the waterfall and humidifier so it isn't quite as impressive looking as I'd intended but I'm hoping with a little finish work that it will be an amazing little project with things I had on hand (except for a few here and there). If everything continues to go according to plan, I'll likely have a miracle fruit plant acclimating in there in a day or two! I am hoping that I can get the humidity up into at least the 70% range and keep the temperature below 85F. I want to make sure that the foam wall has more chance to stabilize before I completely change the water, install the internal filter pump, and add the substrate to the water section. Then it is time to aquascape, cycle, and get some fishies! Then I'll have to find a new project to tackle. ;-)


 |
| The fogger does a fair bit of splashing as well. When the top has been closed for a bit, it is hard to see the temp/humidity gauge through the fog! |

Wednesday, September 29, 2010
Paludarium Construction (Update - 2)
 Third time seems to be a charm for the silicone holding! There was another small leak as I went to a higher fill rate with the second attempt at siliconing. The seals are holding up to my stress test of a full water load quite well with no leaks for the past hour. I'll run the test a bit longer with the HPS light on and the covers on to see how high the humidity and temps will go with only the standing water. If all goes well, I should be able to start the foam wall tonight. I'm still not sure how to best acclimate the miracle fruit plants to the new light just yet but in absence of some inspiration, I'll probably start with 2 hours of light and gradually increase it to the full 12 hour photoperiod over a few weeks, depending on how the plants respond. This is trickier than with most plants (I think) since the plants respond slowly and I'll have to be extra careful so as not to burn them with a huge change in light exposure.
Monday, September 27, 2010
Paludarium Construction (Update - 1)
I did a quick leak test now that the silicone has dried for 24hrs and found a small leak from the pond section into the land section. The bottom seam held quite well but one of the sides had a pinhole leak. Time to bust the tube back out and give it another go! This is my first time doing this so I'm not sure why I thought it would work perfectly the first time. If anyone has good advice on how to get the best seal the first time, please let me know!
Paludarium Construction (Starting Out)
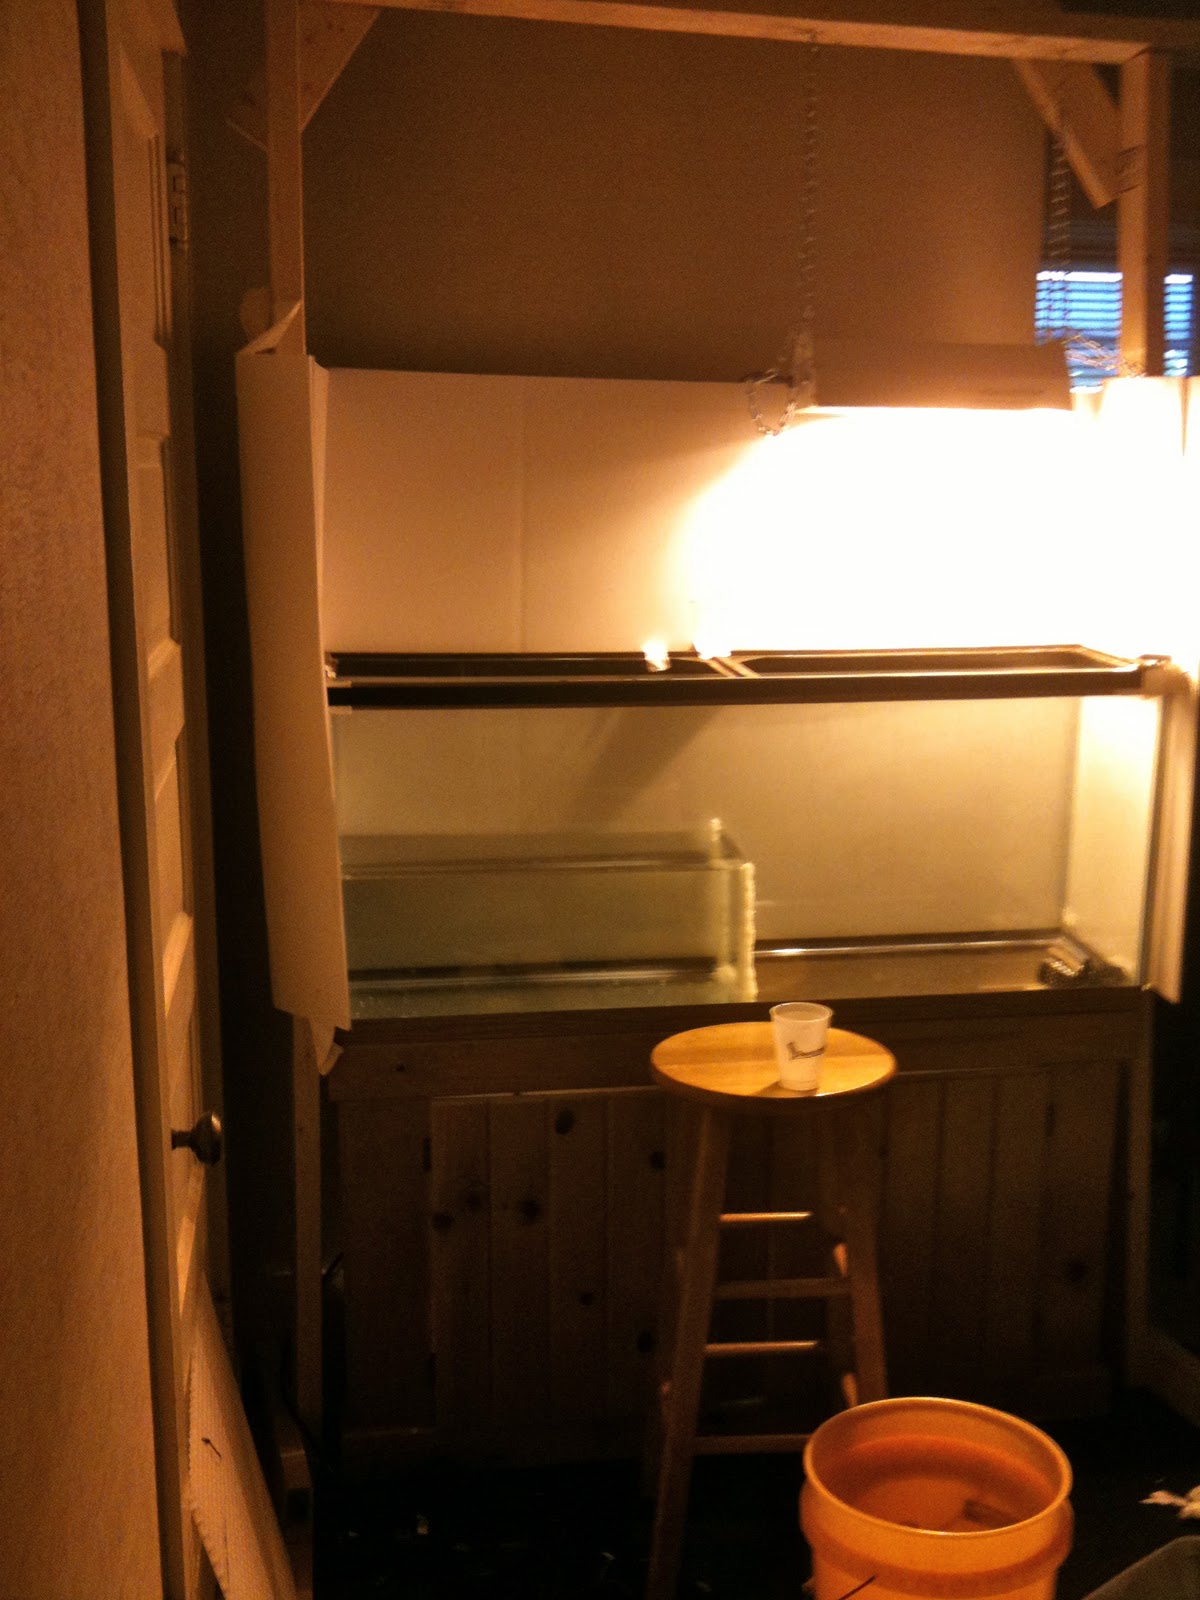
 I’ve been looking for a way to use some of the random items I’ve collected the past few years to help my miracle fruit flower and form fruit. Two such items include a 55 gallon aquarium with stand and 150 watt HPS grow light, both acquired cheaply as used items on craigslist. The problem with combining these two into a mini-greenhouse is that, my usual trick of enclosing a space with plastic film to increase the local humidity would be a major fire hazard. The light gets incredibly hot and it is not worth risking it. Instead, I’m going to attempt a project that I’ve been considering for some time, creating a paludarium-like vivarium. For those not up on their Latin, a plaudarium is like a terrarium except that it mixes both water and land elements. I say “paludarium-like” because I am going to divide the 55 gallon into a water section (containing fish, a waterfall, and drip wall) and a land section (where the miracle fruit and other plants I’m pushing to fruit will reside). In a true paludarium, the two merge with no cirect split, like in a bog. This project will combine two of my favorite hobbies: fish keeping and tropical plant culture.
  The first step was to bring the aquarium and stand up from the basement and find a suitable location. I have a wall that is rather empty and about the perfect size for the set up and so it was an easy choice. Once that was set up, I scrubbed out the tank and began building a light stand. I used a similar principle to my previous light stand but this time, I used nails and reinforced the cross beam to the stand legs with a few pieces of ~1 foot long 2x4 scrap. It’s not the best example of my wood working skill but it is steady and the HPS light hangs quite nicely. The overhang on the right is intentional as I hope to hang my spider plant from this side. In order to keep the light in the enclosure, I used a few spare 3’x4’ white, tri-fold poster boards as light shields. For the two on the front, I attached Velcro strips so that they might be easily taken on and off. One of the front sections covers
  the pond area and one covers the land area. It isn’t a perfect solution to keeping the light in but it will be safer with the grow light and does a fairly decent job. Also, the glowing look of the set up, all closed up, is pretty neat!
 Next, I ventured to home depot and obtained a few pieces of acrylic and some aquarium silicone (and 2 cans of “Great Stuff” foam and a ½” ball valve for later…). I cut the acrylic so that I had 2 9”x12” pieces and a few pieces left for making a lid for the two sections. My aquarium has a cross beam half way through (24”) and so, each “lid” piece fits between these sections. Taking one of the 9”x12” pieces, I siliconed a cross section. This should help hold the water in the pond section and help keep the land section from flooding (crosses fingers). This will be further reinforced later.
 In order to create the waterfall, I’ll be using granite rubble that I have laying around as well as “Great Stuff” foam, sand, epoxy, and egg crate. The egg crate acts as an anchor and helps give form to the whole system. A pump will sit in the back left corner of the pond and pump the water up to the top “waterfall” box. The ball valve in this box will help control the flow from the pump. Also in the  waterfall box will be an ultrasonic fogger that will create a cool mist effect (and also help with keeping the humidity up). My plan is to have the water exit the box by gravity through two different routes. One, along the left side of the tank, will be a waterfall (keeping the water surface agitated) and one the exits the right side of the box that acts as a drip wall with the water flowing out and down several chutes before it drops back into the pond. The bottom will be lined with aquarium gravel that I’d gotten a while ago for free on craigslist. I’m not sure how best to aquascape the tank yet but a few lives plants and central rock would be nice. I estimate the total volume of water in the pond to be just shy of 10 gallons. Using small net cups, I plan to have a few spaces to plant some plant specimens along the waterfall/drip wall. There will also be a small internal filter to help keep the fish healthy and the water clean. Here are some pictures of my progress and stay tuned for future updates! Also, please feel free to leave any comments and feedback below.
 waterfall box will be an ultrasonic fogger that will create a cool mist effect (and also help with keeping the humidity up). My plan is to have the water exit the box by gravity through two different routes. One, along the left side of the tank, will be a waterfall (keeping the water surface agitated) and one the exits the right side of the box that acts as a drip wall with the water flowing out and down several chutes before it drops back into the pond. The bottom will be lined with aquarium gravel that I’d gotten a while ago for free on craigslist. I’m not sure how best to aquascape the tank yet but a few lives plants and central rock would be nice. I estimate the total volume of water in the pond to be just shy of 10 gallons. Using small net cups, I plan to have a few spaces to plant some plant specimens along the waterfall/drip wall. There will also be a small internal filter to help keep the fish healthy and the water clean. Here are some pictures of my progress and stay tuned for future updates! Also, please feel free to leave any comments and feedback below.
Thursday, September 23, 2010
Titan Arum

Last night, I experienced perhaps one of the rarest of indoor tropical plant growing experiences, the blooming of a Titun Arum. After 9 years of growth in Wisconsin, this Sumatran plant burst forth in its gigantic bloom, releasing the stench of rotting carrion. Because of this smell, the plant is also known as the “Corpse Flower”. This smell is given off to attract its native pollinators that dine on the meat of dead animals. As I walked through the greenhouse on the University of Wisconsin campus, I could certainly catch the smell in the air, but was told by one of the greenhouse workers that the evening before was when the real stench occurred. The olfactory event was so pungent that she could smell it in her office on a different floor of the building. The bloom lasts between 24-48 hrs and occurs quite rarely (and I thought waiting on jaboticaba seedlings would be hard!). As an indoor gardener, I feel lucky to have experienced the event but feel no need to have such a smell in my nostrils again for sometime. For more information on the greenhouse, please visit the D.C. Smith Greenhouse website.
Tuesday, September 21, 2010
Self-Watering Container from Recycled Materials

I was recently thinking about ways to decrease the expenses of indoor gardening as well as good ways to make use of products typically thrown away or recycled. One place to save a bit of cash for the penny pinchers among us is to make your own container from recycled products. I’ve been experimenting with several home made container types including my aero-crate, the 5-gallon self-watering container (link opens pdf), and hypertufa pots. Recently, I ran across an instructables article on using old soda bottles to make small, self-watering containers. Following this method, I recycled an old sock with a hole in it (because seriously… how else are you going to reuse such an item?), a 2L soda bottle, and a paper Trader Joe’s grocery bag. The sock acts as the water wick (making it “self-watering”), the soda bottle was cut in half and acts as the container/base, and part of the grocery bag was used between the base and the container to keep light from entering the container. In under half an hour, the container was made, filled with potting mix, and one of my loquat seedlings was planted in it, enjoying a ready supply of moisture in its new home. It has been a few days and the

 wicking really does seem to work rather well! My one issue with this project is that with a 2 liter soda bottle, it only ends up holding a little under a quart of soil (a typical 1 gallon nursery pot holds about 3 quarts). I may try using different bottles (3-liters, milk jugs, anything else that looks interesting) to increase the volume of future iterations. For small seedlings or herbs/flowers, this would be a great little project, especially for those who often forget to water (or over water and kill their plants).
Subscribe to:
Posts (Atom)