Wednesday, March 23, 2011

Jaboticaba Update

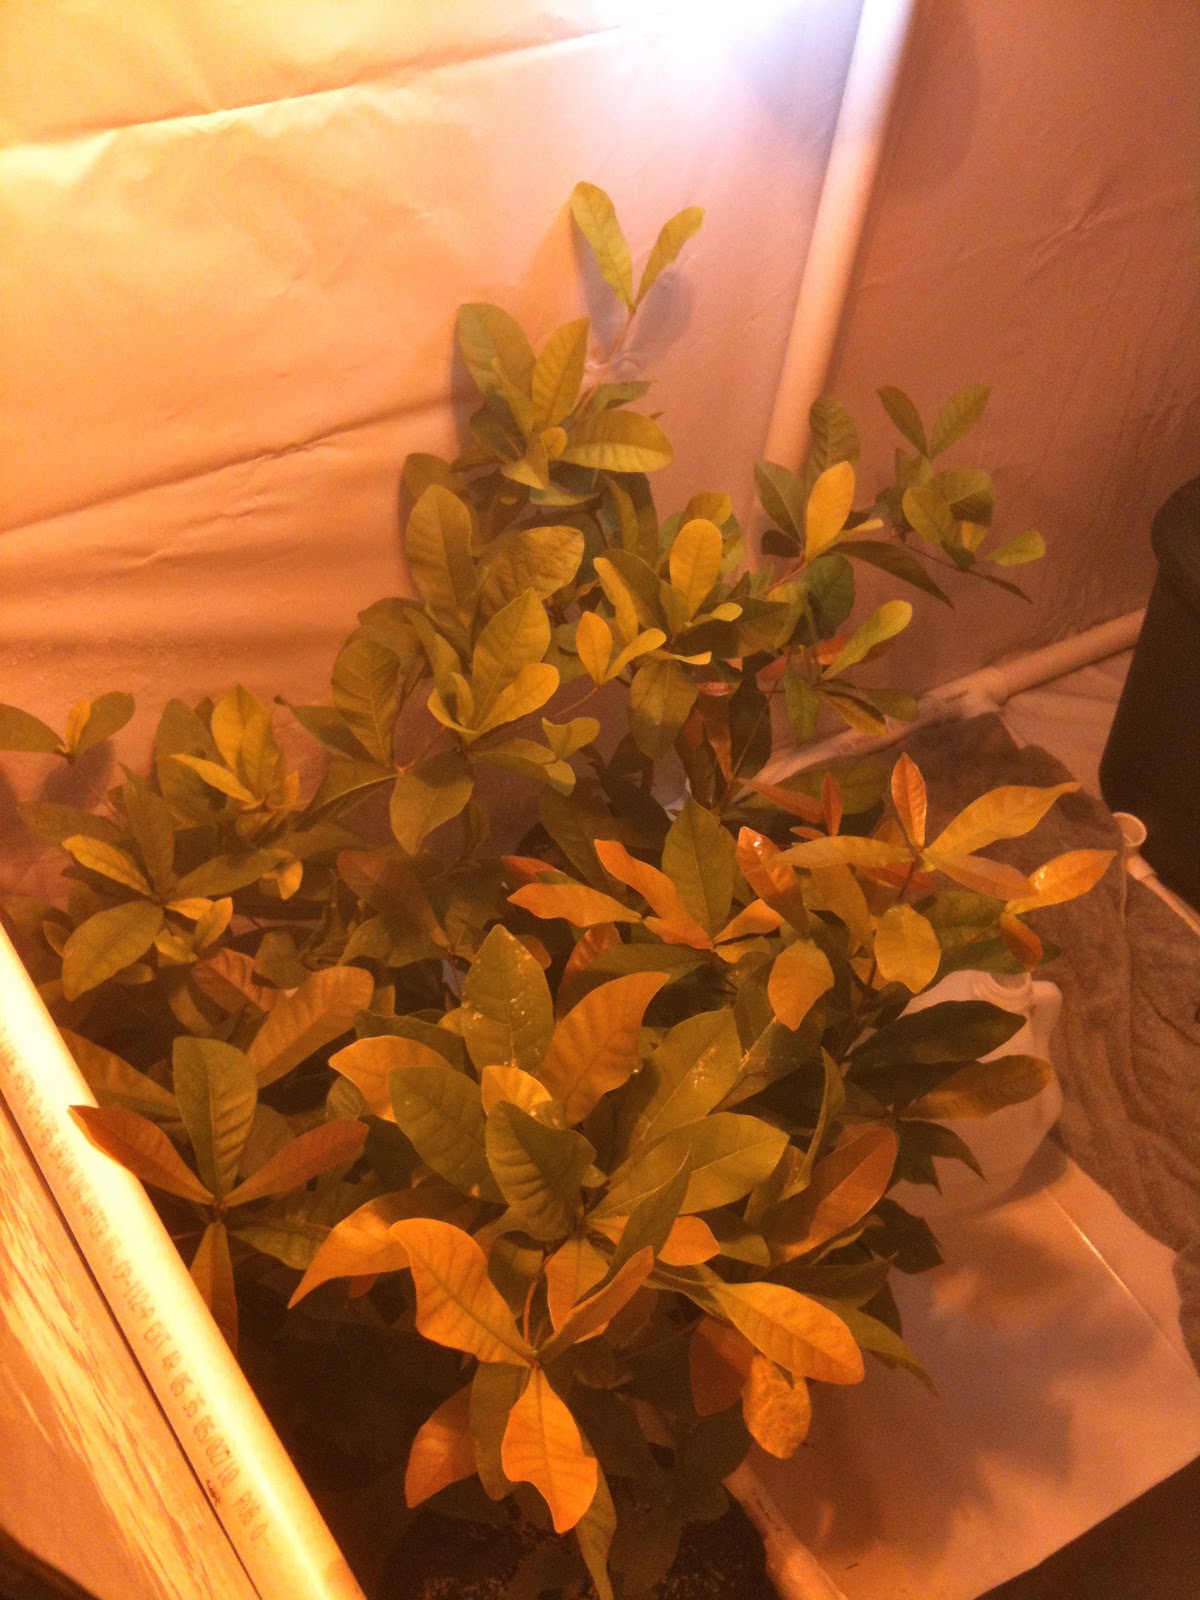
Happy Jaboticaba plant 2of3
Happy Jaboticaba plant 1of3
Looking over my blog, I noticed that it has been almost exactly six months since I potted up my jaboticaba plants. While their growth isn't nearly as explosive as my cherimoyas (updated to follow), they certainly have put out quite a bit of foliage! There was a bit of browning on the tips of the older leaves but I attribute this to the low humidity my apartment experienced (despite having a fish tank and humidifier in the room). These plants seem to love water and the more I water them, the happier they seem to be. Based on this and their slow growth, I think they would make an outstanding specimen for an upcoming project, "Paludarium Redux".

Monday, March 21, 2011

LED Bloom Booster

The recent warm weather in Wisconsin has me back in the gardening mood and I'm working to finish up some of my Winter projects. One of my more fun projects has been trying to coax my miracle fruit into blooming indoors. Currently, there is a 150W HPS and a 13W 6500K CFL, neither of which emits much light at around 660nm, the photosynthetic sweet spot associated with flowering. So, soldering iron in hand, I went about my attempt of bathing my plants in some red wavelength light. DISCLAIMER: This stuff can be dangerous. You have electricity and humid/wet environments which can be dangerous! If you don't know what you're doing, please, either read till your eyes bleed/you know what you are doing or consult a professional. I am in no way responsible if you harm yourself or start a fire or any other bad stuff. Alright </scary stuff>.

So, here is first light of my lamp -->
Wow that is bright! So how did I do it? Well, there is a great web resource at the  Green Pine Lane Forum with enough reading to keep you busy for a very long time! A simple walk through of what I did though:
  1. Attach 9 1W ~660nm to 3"x4" finned heatsink using arctic alumina (Note: most high power red leds are 625nm, there are only a few companies that make 660nm leds and even fewer that make fairly efficient ones).
  2. Solder LED's in series 
  3. Connect to LM317 circuit with resistor to make a simple constant current driver. This isn't the most efficient system but, I had all the parts handy.
  4. Connect the circuit to a 24V power supply. I used one that outputs 1.1A which means I'd be able to very comfortably run two of these lamps off of this supply, if I so desired. 
  5. Splice 80mm computer case fan to an old 12V wall wart DC adapter
  6. Attach fan to the top of the heat sink and use a fair bit of wire to create a hanging mechanism. 
  7. Plug in the fan and power supply and bask in the eerie red glow!
LED light is on the right
I certainly learned a great deal about creating LED lamps with high power LEDs and am fairly certain this won't be my last one (in fact, I already am scheming for a the next one). I'm hoping to boost the overall efficiency of this system but first, I'd like to see if this has any marked effect on miracle fruit production! If so, I may have some seeds to sell in the near future. Stay tuned for updates on this and my other adventures in indoor tropical gardening in the Wisconsin tundra.


Thursday, February 10, 2011

Miracle Fruit Update

It has been a bit since I've updated due to work but the new grow box is doing wonders for the six miracle fruit plants! I'm not sure if it is 150W HPS light or the new fertilizer routine (I'm now using Blue Mountain Organics and loving it) but in the past month, the plants have grown more than in the past year. I've also got another round of buds forming with my latest count at 3. I've added in 20W of halogen light (lots of far red) which I hope pushes more blooms. Now, here are the latest pictures!

The 6 plants only take up about 1/3 of the floor space, but that is about all that the 150W lamp covers directly, anyway.

The brownish looking leaves are actually the new, red leaves. Look at that growth!

Soon to be fruit?

Sunday, January 2, 2011

New Grow Box!

I've been contemplating building this for some time and decided my Christmas present to myself would be my new grow box. It is made out of 1" PVC pipe, 6mm black and white film, and white duct tape.
A bit out of place in my small apartment!
Oooo... fog!
It measures roughly 4' x 3' x 7.5'. Right now, I have a 150W HPS light hanging in there and will likely supplement this with some more CFLs. The film is great (super easy to work with) and except for a few seams I need to put a bit more tape on, makes a light tight enclosure. My miracle fruit plants will go in here so I need the humidity to stay nice and high. To do this, I used a ~20 gallon tote with a CPU fan and an ultrasonic fogger on a wooden float which seems to keep things at over 80% humidity. This will likely be higher once the plants are in there transpiring. I was seeing great growth under the HPS in the paludarium but there was just not enough room for the plant and my other enclosure is getting over crowded as well. With a little luck, I'll have all my plants happy, growing, and flowering/fruiting in their new home soon!  Happy Holidays everyone.

Wednesday, December 15, 2010

Another Update


Happy Holidays again and time for one more quick update. The aphids seem to be beaten and the pepper plants promptly responded by putting out a flush of new flowers. This may also be a response to adding a sprinkle of Osmocote 14-14-14 to the top of the soil as the plants looked like they could use a boost. A week later, they’re certainly boosted! I’m fighting some yellow leaves on one miracle fruit plant in my old set up but hopefully it is a heat issue and the small heater I have will keep the temp up a bit more over night. There seems to be a TON of new growth (pictures to follow) on the MF plant in my 55 gallon enclosure under the 150W HPS light. Not sure what did it but all of the sudden, it looks like there are new leave shoots (and possibly flower stalks!?! fingers crossed) coming out every which way. I have some new MF organic fertilizer on its way from Black Rivery Nursery so hopefully that will also help with fruiting. The non-traditional Christmas tree is mostly built and I’m waiting on my lettuce seedlings to get big enough that I can try transplanting them into the system. If the lettuce grows well, I’ll do a full write up. The hardest parts so far have been 1) keeping the water in at the grow sites; and 2) figuring out how to make my old Windows 98 laptop control relays to turn the pump, lights, and Christmas lights on and off. Please don’t try this at home (and don’t forget that GFCIs are your friend, especially when it comes to mixing home hydroponics and home made circuitry).  The lettuce likely won’t be ready by the 25th but hopefully I will at least be able to transplant it by then and have it have some decent growth so that the white buckets look green and tree like. I’d forgotten how nice it is to have a lovely plant room with full spectrum lights and tropical plants all around you while outside, it is snowing and freezing!

Tuesday, November 30, 2010

Updates

Happy Holidays everyone! All the plants made it through the Thanksgiving holiday break. I haven't kept on the aphids and they seem to have come back after not spraying for a few weeks. I need to just find a few lady bugs to do the job. The miracle fruit plant in the paludarium is starting to push out some new growth and what looks to be a flower bud! I'll take pics later when I know for sure. I've also put a few spinach seedlings in the aquarium aquaponics and will write some posts on that later (assuming they perk up from the transplant). I'm also working on a "Non-traditional Christmas Tree" that will be a hydroponic tower (version 1.0) growing lettuce and spinach. If it works well, I hope to make one that grows fuchsia and passionflower vines. More updates coming soon! :)

Saturday, October 30, 2010

Aphids!

As I've been catching up on work, I haven't had much time to take care of the plants aside from a daily misting and biweekly watering.  I noticed, however, the pepper plants that I'd brought in were getting a sort of fuzzy appearance which I at first attributed to a large, secondary flower bloom under their new HPS light. When I thought about it a bit more though, I looked closer (underneath leaves in particular) and noticed that I had an aphid invasion on my hands! After doing some research and a bit of thinking, I came up with my (mostly?) organic fix.  In a 32 oz. spray bottle, I mixed 18 oz. of coffee (not piping hot!), 1.5 teaspoons of 70% neem oil and a splash of OMRI listed insecticidal soap spray topped off with RO water. The coffee and soap are certainly organic but the neem oil did not seem to be. Perhaps there is something about the remaining 30% or the manufacturer did not go to the bother of being OMRI listed? I'll have to do more research. Coffee contains caffeine (of course) which the plant produces to protect it from insects.  What gives us a nice morning pick me up overwhelms the insect nervous system causing death.  On inspection of my coffee plants, I did not find a single aphid on them, possibly due to the plant's defense. I did notice they had made their way to the loquat seedlings which makes me think that the softer, less waxy leaves are more appetizing to these critters. The neem oil is a natural extract of neem tree seeds that deters insects from biting the plant and causing those that do to die from a variety of effects. The soap helps to emulsify the neem oil which is naturally hydrophobic.  I sprayed down the infected plants to dripping on both the top and bottom of every leaf and hope that this acts to stop my pest invasion.  If not, I will give it a try in one more week. DISCLAIMER: I have not read before about mixing these products and take no responsibility if this harms your plant.  This is a test of a broad organic pesticide that works through numerous mechanisms.  I will update this post in coming days/weeks to discuss its efficacy both in terms of ridding the plants of aphids as well as any potential side effects. Thanks for reading and feel free to comment on my solution (pun intended)!